Once you enter the Game Lobby, you'll see a list of rooms created. Click on the Room ID, Room Name, Mode, Limit, Map, Player or Status button to rearrange the rooms orders based on the title you selected.
To enter a room, double click on the Room Name that you wish to enter. Click on the button to randomly enter a game room.
Note: If a Lock Icon appears in front of a Room Name, this means that you'll require a Password to enter the room, as shown below:
Create Room
To create a room, you'll need to first select the Category you wish to join. Click on the button to enter the Game Room Basic Setting Interface. In this page, you'll see the Game Mode Selection, Map Selection, Room Password Setting, Population Limitation, etc functions here. As shown in the image below:
Take note that the Room Name cannot be empty;
Leaving a tick on the Instant Join section means that players are allowed to join the game halfway, while ticking on the Balance Population sections means that the game will only start if both teams have the same amount of players or if the differences in number of player is not more than ONE;
In Personal Mode, you cannot set the Max Killing Mode, while in Ghost Mode and Team Battle Mode, you cannot set the Recovery Time;
After you've selected Training Mode and clicked on the 'Confirm' button, you will immediately be directed to the training camp instead of the Waiting Room.
Search
You can search a room by key in the Room Number and then click the search button.
Create Chat Room
To create a Chat Room, players need to first click on the button. In the Chat Room Interface, you can set the Room Name (Cannot be left empty), Room Password and also the Population Limit. Once you're done, click on the Confirm button to enter the Chat Room. As shown in the image below:
Interactive
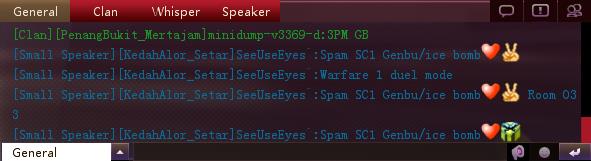
The panel located at the bottom of the lobby are the game's Interactive functions. Image as shown below:
Here is where you can start chatting. The type of chats are displayed at the upper corner of the Chat Box.
Personal/Whisper: You can choose any one player from this player list to start personal chat. Right click on the player's nickname and a menu will pop up. Select "Send Whisper" as shown in the image below:
Following the above image, you'll be able to select various functions (such as: Blacklist, Add/Delete Friend) from the pop-up menu. Clicking on your own nickname will only enable you to check your own info. However, if you click on other players to view their Info, you'll be able to click the "Add Friend" or "Add Blacklist" button appear in this window, as shown in the image below:
After adding a player to your Friend List/Blacklist, the player will appear within your lists. You can still operate the same functions in those lists.
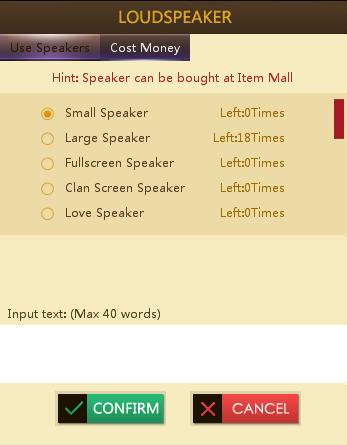
Speaker
Click on the icon located at the lower corner and you can choose whether to display your message throughout the entire server or only within a particular area. However, you'll need to first purchase a Speaker Tool from the Item Mall, as shown in the image below:
Chat Emoticons
When composing messages, you can click on the icon to insert emoticons in your messages.
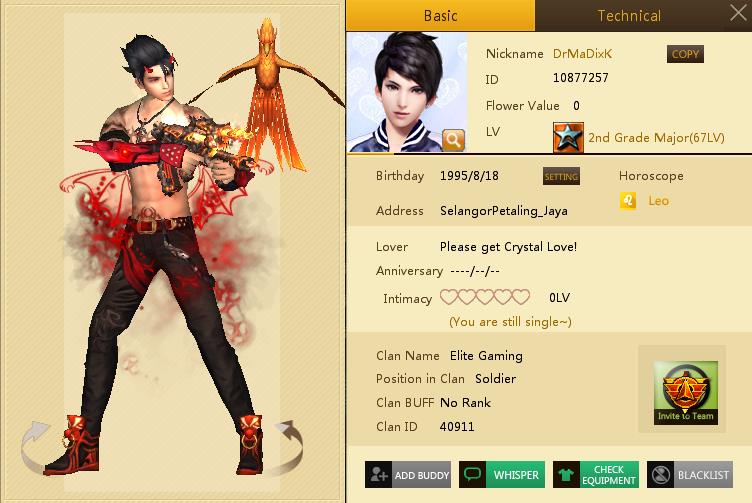
My Info
The lower right corner of the lobby displays your personal info, such as Nickname, ID, Level, Kills, EXP, Silvers and Gold Coins Info, as shown in the image below:
 button to randomly enter a game room.
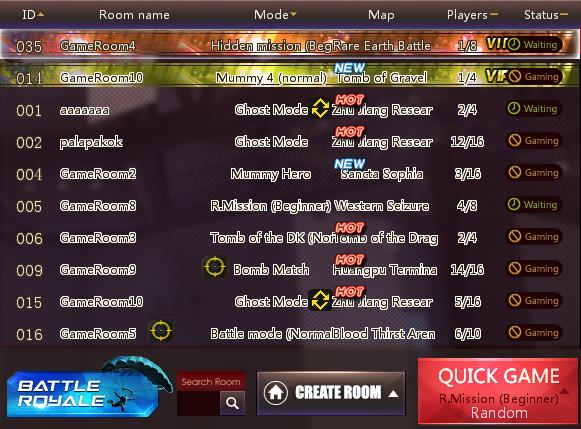
 button to enter the Game Room Basic Setting Interface. In this page, you'll see the Game Mode Selection, Map Selection, Room Password Setting, Population Limitation, etc functions here. As shown in the image below:
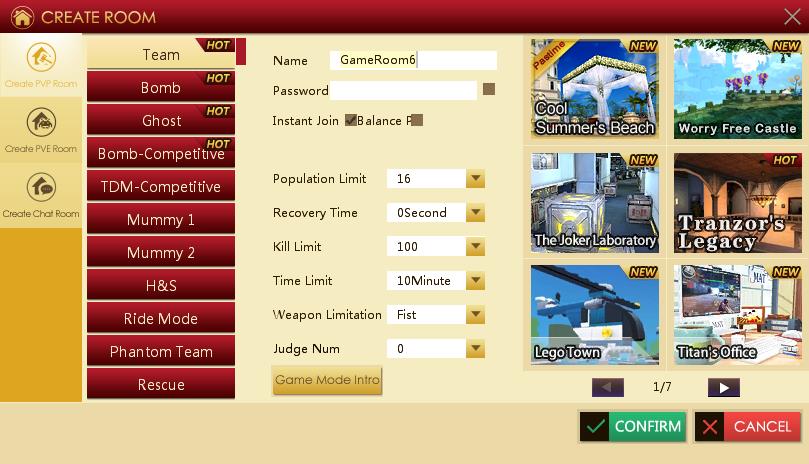
 button.
 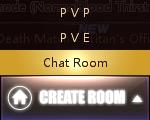 button. In the Chat Room Interface, you can set the Room Name (Cannot be left empty), Room Password and also the Population Limit. Once you're done, click on the Confirm button to enter the Chat Room. As shown in the image below:
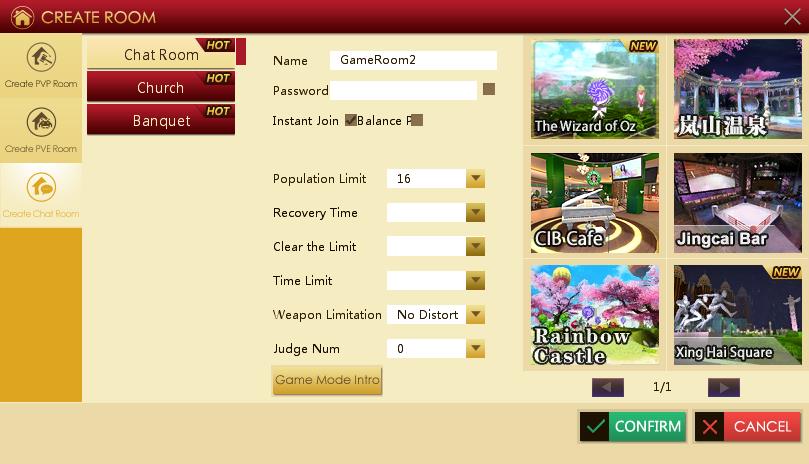


 icon located at the lower corner and you can choose whether to display your message throughout the entire server or only within a particular area. However, you'll need to first purchase a Speaker Tool from the Item Mall, as shown in the image below: